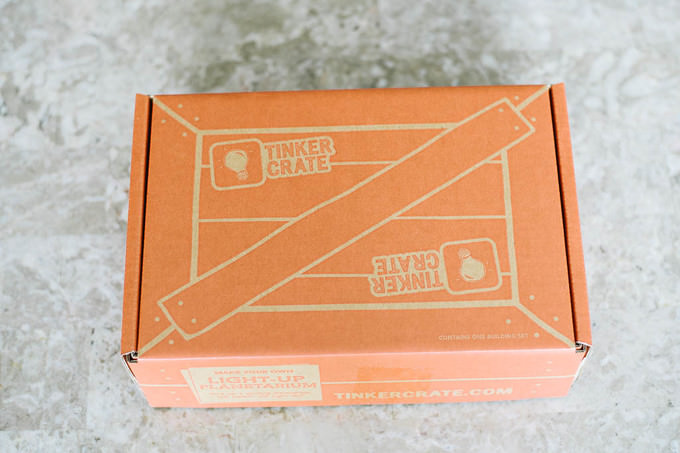
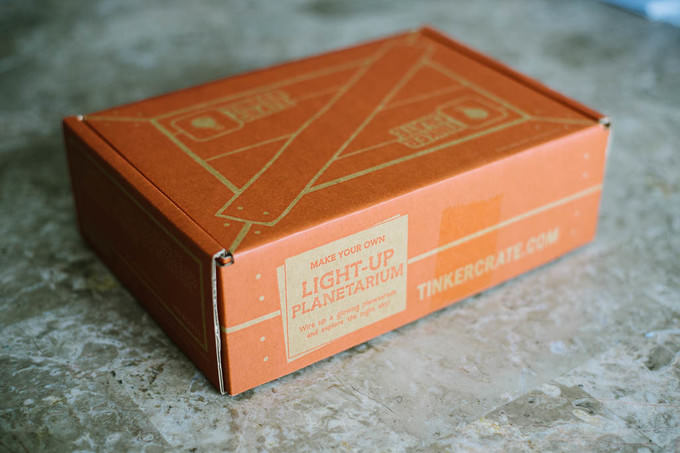
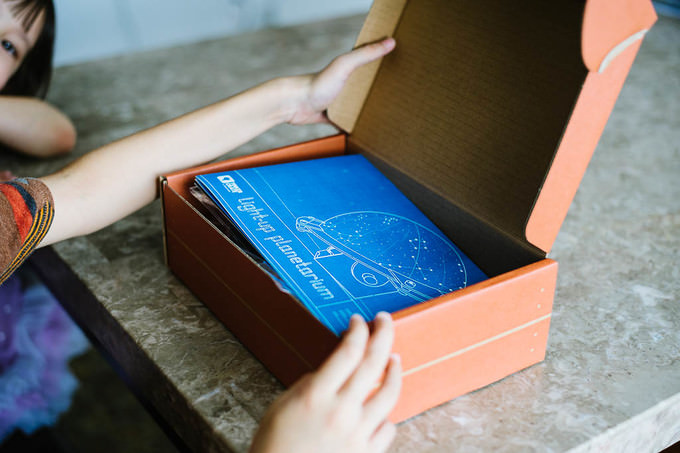
Hello there, my name is Omar and I am 10 years old. My first entry in Arbuz blog will be dedicated to writing a review of Tinker Crate’s (KiwiCo) Light-up Planetarium, which we loved putting together. I will be reviewing some of the materials we use as part of our enrichment and homeschool curricula. This month I was fortunate enough to get Light-up Planetarium from Tinker Crate. I love anything which has to do with space, starts and astronomy. Receiving this Light-Up Planetarium was a big win for me.
A Tinker Crate is a box product with a fun project inside that gets sent to you every month. I believe your parents need to sign you up for it. Usually some crates are easy and have easy to understand instructions, but sometimes you need adult supervision for certain projects to be completed. This is my third crate this year.
How I got into Kiwi Crate and what do they send?
My brother Ozzy and I wanted to do something engineering-like, for example, assemble a set or perform different experiments. One day while I was reading a book, Ozzy came upstairs and said that mom was getting membership for a project that would come every month. I ran downstairs with him to look for mom. I asked her if she was really signing us up for a fun project. When mom said yes my siblings and I were so happy we just kept on talking about what we would do with the crates when they arrived. A week later the crates arrived, starting our first month with Tinker Crate. My sister got a Kiwi Crate (4-5 ages) and my brother and I got Tinker Crates (10-15 ages).
For the next hour we were building. Ozzy and I got an air cannon with targets, while Jasmine got a pinball machine. They were so much fun! Next month my brother and I got bottle rockets, while Jasmine got a claw game. Along with one project to work on, Tinker Crate also includes a magazine called a Tinker Zine. It contains a bunch of information on how the given project works and extra material which you can work with.
What is a Planetarium and/or Light-up Planetarium?
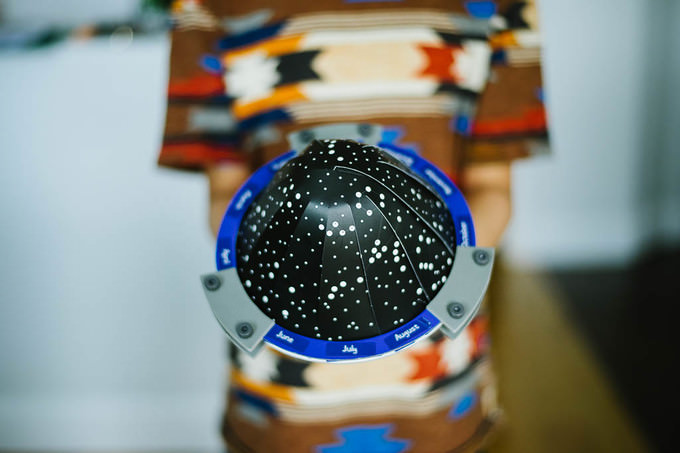
A planetarium is a dome shaped theater that observes stars, planets, and constellations. The light-up planetarium is a half-globe (northern hemisphere) where you poke holes in it where the constellations are supposed to be. The reason why there are holes, is because light shines through the holes, emitting from an LED light.
How hard is the project?
In my opinion, this project is not very hard to work with. You just need to follow the instructions to the T. There are a bunch of repeating steps that might be a little hard to perform.
What comes in a box of Light-up Planetarium?
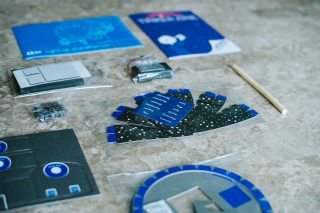
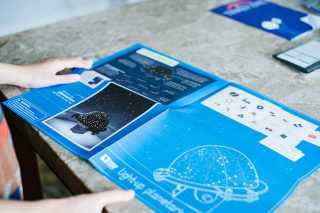
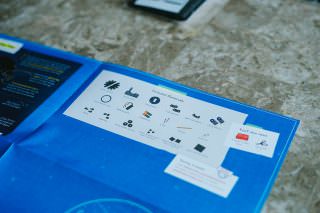
The set comes with a paper globe set (2 pieces), a base set (8 pieces), a stand set (3 pieces), a wooden dowel, 2 LED lights, a battery pack, 2 AA batteries, a pushpin, 14 bolts, sticky foam, 7 spacers, a sheet of double-stick foam, month stickers, sticker sheets, an instructions sheet and a Tinker Zine magazine (we will talk about it in the end of the review).
How to put it together? What to pay attention to?
To put the dome together use the pushpin and poke holes into the big stars in each of the globe sheets. After that, fold the blue tips on the ends of the sheets we just poked holes into upwards and do the same with the black tabs on the sides. Except instead of folding them upwards for them downwards. Then, stick a double-stick foam square on each of the blue trapezoids on the planetarium ring. Flip one of the dome sides to the white and bring the dome section up from under the planetarium ring and stick it to the foam. Repeat on each section and then do the same with the other dome side but this time on the other side of the ring. Use two double-stick foam squares and stick them to the inside of the dome to hold together the halves and to cover up any holes. You are done with the dome!
To assemble the stand, stick four double-stick foam squares and two sticky foam donuts onto the stand piece. Then, insert the batteries into the battery pack. Attach the pack to two of the squares on the stand piece so that the switch is facing up and the wires are pointing left. Fold the stand piece around the pack and stick the other two squares to the other side of the pack. Poke an LED through two small holes in the stand piece and attach the long LED pin to the red wire and the short LED pin to the black wire. Fold the top of the stand downs that the holes line up and the LED pins are inside the stand. Slide the dowel through the holes and bend the LED pins to either side of the stand so they sit on the dowel and test the light by turning on the switch. If it works, you are done with the stand! To put it all together put the base piece gray side up line up one of the arc pieces with a blue-printed section on the base, while not letting the edge of the arc go past the blue printing, and stick it on with two double-stick foam squares.
Repeat this process on the rest of the blue printing. Flip the base over and push a bolt through one of the holes in an arc piece, then screw on a spacer. Repeat this process on the other five holes. Place the dome on the top of the base and place the open arc piece so it is facing the short side of the hole in the base, then secure it with two more bolts. Use four more bolts to attach the other 2 arc pieces. Then, attach a sticky foam donut each of the pivot pieces. Fold the pivot pieces so the sticky foam donuts are inside the folds. Slide them onto both ends of the dowel with the donuts facing in. Make sure the pivot pieces are evenly spaced on the dowel. Adjust the pivot pieces so they line up with the blue squares on the bottom of the dome. Use 2 large double-stick foam squares to attach the dome to the pivot pieces so that the LED fits into the hole. You are done!
Conclusion – how you can use this project?
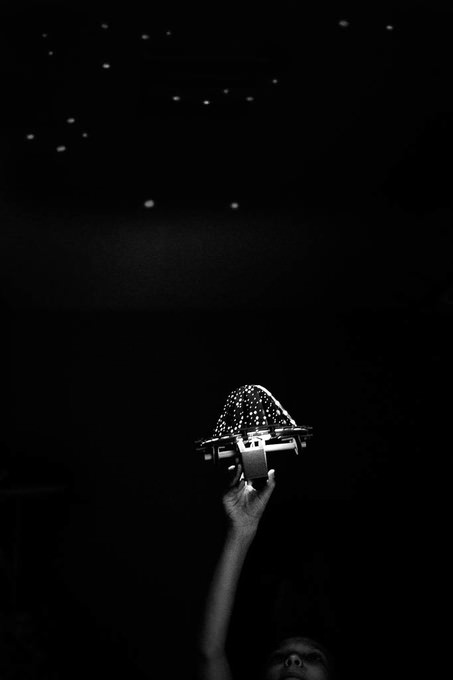
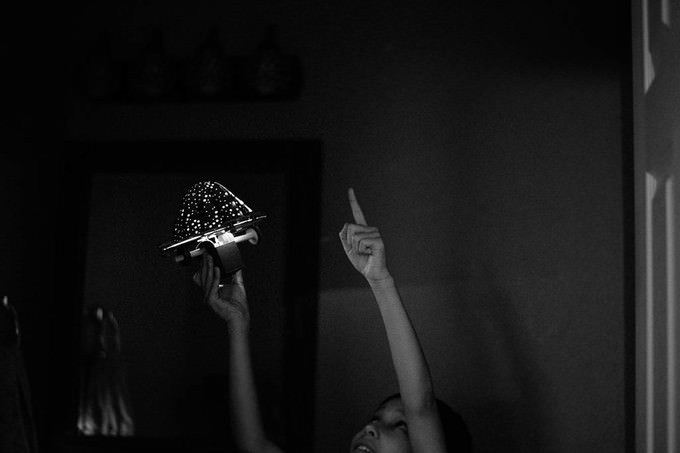
Take your planetarium to a dark room and turn it on. Let your eyes adjust to the darkness, and position the planetarium so that you can see the stars projected on the ceiling or the wall. Ozzy found that if there are no dark rooms available you can just use the bathroom sink!
Info about this month Tinker Zine
In this issue of Tinker Zine there is a page about facts that explain how fast the planet Earth is spinning and revolving around the sun. Next there is a page about how to finish your project (find the section of your planetarium with the Little Dipper and turn the dome so the Little Dipper section is lined up with the open arc piece. Then, twist out the bolts that hold the open arc piece and remove the piece. Find the January sticker and stick it down to the planetarium ring. Make sure to place it evenly between the two spacers on the arc piece.
Rotate the planetarium ring one section to the left, so the next section is centered on the same arc piece then stick the February sticker down on the ring. Keep going one section at a time, until all 12 month stickers are stuck to the planetarium ring, then, screw the open arc piece back on.).
Then there is a page on the motion of the stars, where you will explore the celestial sphere. After that, there is a page on how to build a quadrant, a simple tool for measuring the stars. There is a page on celestial navigation, basically traveling by the stars. Last of all there is a page on the Tinker Library, a media for builders.
This is it for this crate, hope you enjoyed it! Comment below and let me know if you need any help with putting together your projects.







Thanks for the info about the monthly stickers. We couldn’t find any tips in the instruction about that and you saved us. We appreciate that.