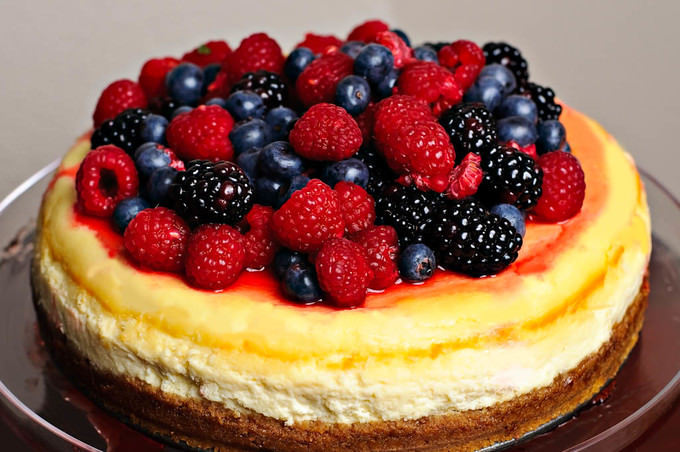
We were invited for a dinner last week and I decided to take on another challenge by baking this amazing cheesecake. I will be honest, I was scared. While I plan to take on this recipe over and over again, I decided to put out the step-by-step recipe of my first attempt to make cheesecake, since it came out that good. I couldn’t wait to share this Cheesecake Recipe!
By the way, if you have ever tasted the Whole Foods cheesecake, you will definitely love this recipe, because it tastes the same, if not better :)
This picture was taken right before we took off to our friend’s house. I apologize for not putting out a decorated dessert. I just didn’t have any time at all. I am sure I will have plenty of opportunities to perfect my cheesecake and this recipe in the future.
Berry Cheesecake Recipe
Please read:
Before you start, I want to make sure that you have the right timing line. It is better if you bake cheesecake a day before of the intended party. It takes some hours to bake it and cheesecake needs to settle down in the refrigerator, preferably overnight.
I cannot stress enough the importance of having the ingredients at the room temperature. This will enable for the ingredients to incorporate faster and for the cream cheese to blend smoother. Overall, you do not want to whisk the batter for too long. It will only take in more air. Since the air has nowhere to go in the oven, it might eventually crack your cheesecake.
Measure your spring from pan. It should be about 9 inches.
Ingredients for the crust:
- 2 cups fine graham cracker crumbs (you can also buy graham cookies and crush them)
- 1 Tbsp sugar
- 1 tsp cinnamon
- 6 Tbsp melted unsalted butter
*If you need a sub for graham crackers, let me know we will find a substitute according to where you are.
Ingredients for the cheese filling
- 2 1/2 pounds cream cheese, at room temperature
- 1,5 cups sugar
- 5 whole extra-large eggs, at room temperature
- 2 extra-large egg yolks, at room temperature
- 1/4 cup sour cream
- 1 Tbsp grated lemon zest
- 1,5 tsp pure vanilla extract
- Little butter or oil to brush the sides of the spring pan
Decoration:
- Berries of your choice
- 1 cup jelly or 1 cup berry marmalade
*You will also need 2 sheets of aluminum foil, boiled water and an extra roasting pan with sides 2 inches deep and large enough to accommodate the cake pan with at least 1,5 inches of space between the sides of the spring pan and the roasting pan. We are going to be using the “Bain Marie” method for this recipe. This ensures the even cooking of the Cheesecake without cracks.
Preparing the crust:
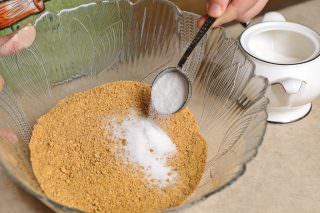
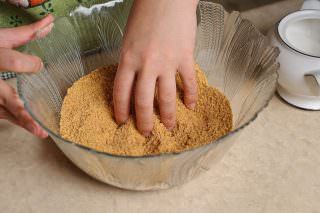
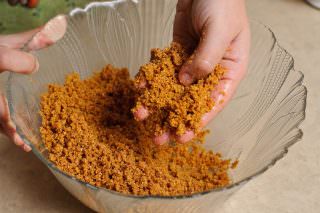
Center a rack in the oven and preheat the oven 350F. In a medium bowl, combine the graham cracker crumbs, cinnamon with sugar. Mix well.
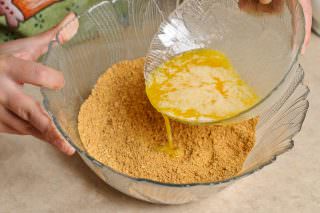
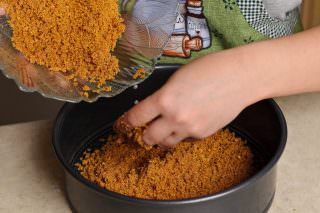
Add melted butter and combine all ingredients until moistened.
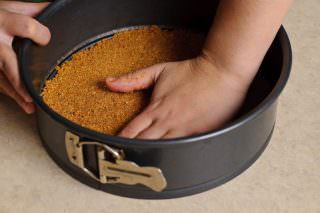
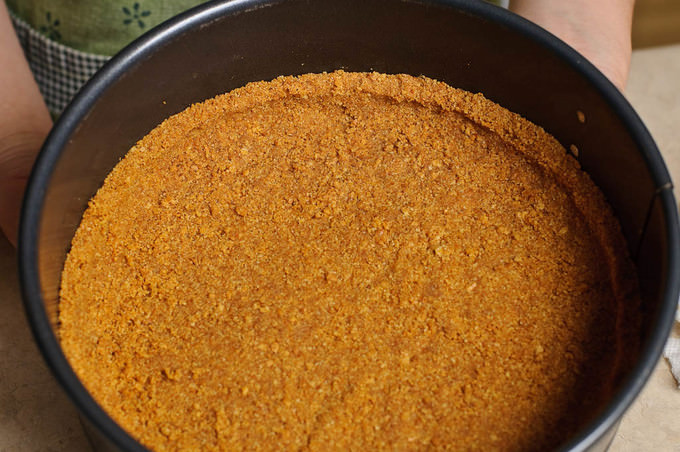
Coat the bottom of the spring form pan with the layer of the graham mixture pressing with your hands. Also, create a 1 inch barrier up the sides of the pan. Bake in the oven for 8 minutes and keep it aside until further use. DO NOT forget to turn up the oven temperature to 450F for later use.
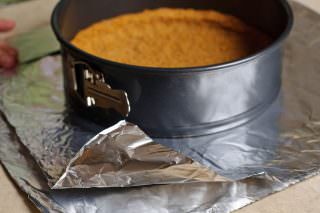
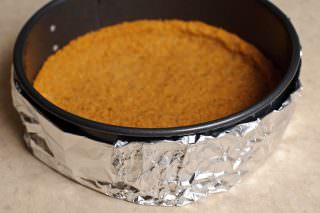
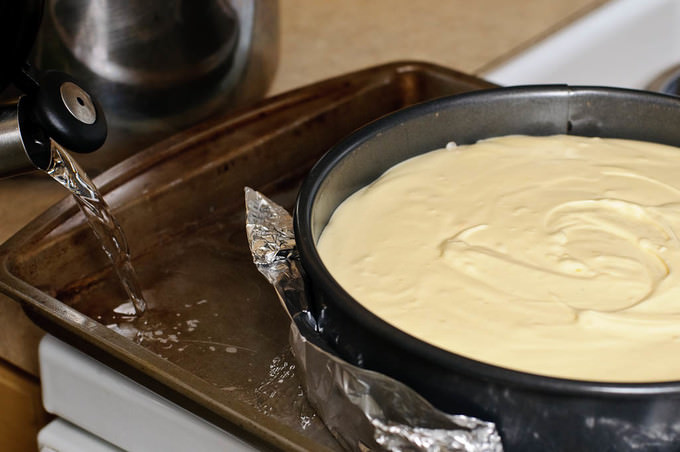
Once the pan is cool enough, layer two aluminum foils under it. Wrap the foils around the pan to create a safe barrier. This will prevent water from getting into the cheesecake.
Preparing the filling:
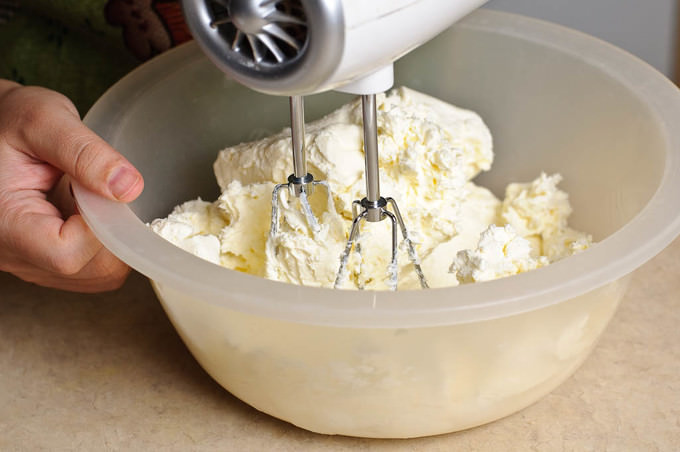
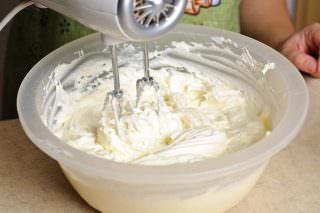
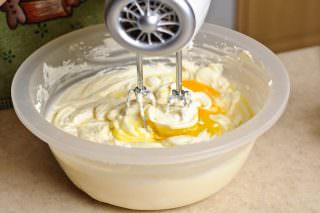
Once the cream cheese is up to room temperature, beat in on low speed until smooth for about 45 seconds. Ideally paddle attachments are excellent for this job. They do not let a lot of air enter the batter. If you do not have that, use regular attachments you have.
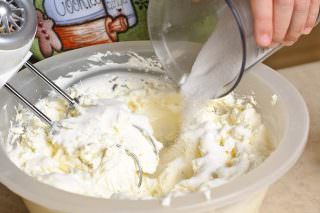
Maintaining the same speed, add the sugar in a steady stream. When all of the sugar has been added, increase the speed to medium-low and beat until completely smooth.
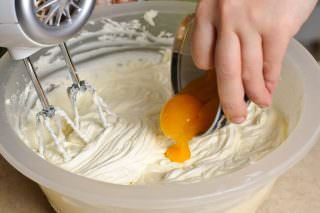
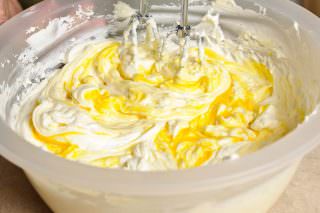
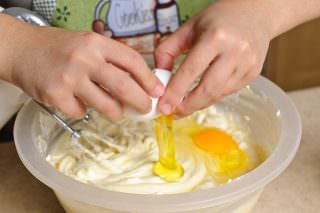
Start adding the eggs two at a time starting with the egg yolks.
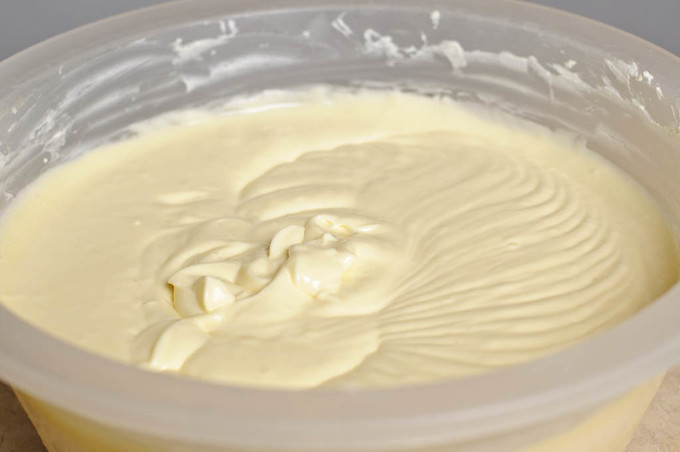
Keep scraping the sides of the bowl to have an even batter.
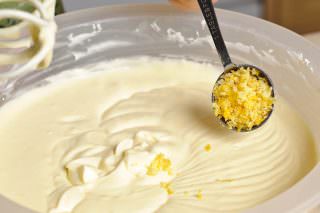
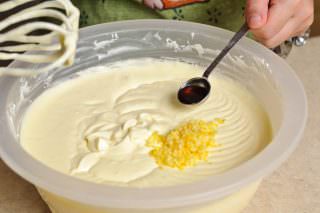
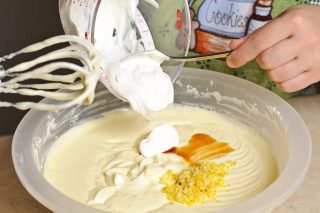
Once you have a smooth batter, turn the mixer speed to low and add lemon zest, vanilla and sour cream.
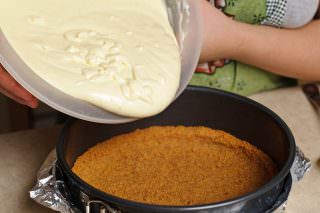
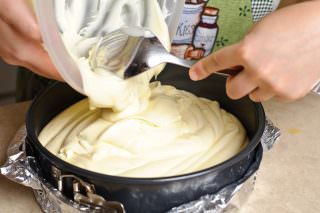
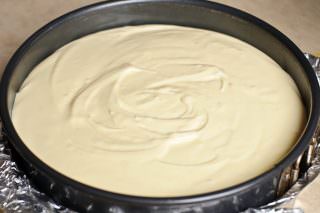
DO NOT forget to generously butter the sides of the spring pan. Pour the ready batter onto the crust evenly.
Place spring pan on top of the roasting pan, set the roasting pan on the oven rack, and pour in hot water to come slightly more than halfway up the sides of the spring form pan.
Bake under temp. 450F for 15 minutes. Right after that, turn the temperature of the oven to 225F and bake for another 1 hour and 15 minutes. When the time is up, turn off the oven and keep the cheesecake in the oven for 2 hours. This will ensure that the cheesecake settles nicely without getting any cracks.
When the time is up, take out the cheesecake, discard the aluminum foil, wrap around with a plastic wrap and refrigerate overnight or for at least 4 hours.
To take off the spring form pan, run a hot knife around the cheesecake and open the pan. You do not have to remove the bottom of the pan under the cheesecake.
Before serving, warm up the jelly (or the marmalade) on low heat. Transfer it to a bowl and toss the berries in it. Place the berries on top of the cheesecake and serve your masterpiece :) You can also place the cheesecake in the refrigerator for another 30 minutes for the topping to settle down and jell out a little.
I hope you will really enjoy this recipe!

This cake looks yummy! I like this post where you show how to do the receipe.
Thank you, Morten :)
Hey thank you for all the great recipe
Thank you Charles!
This was my first attempt at cheesecake, the instructions were very helpful. I used my food processor for the crust and filling, it was the best cheesecake I have ever had, and my husband was very impressed with the results. I look forward to trying some of your other recipes. Thank you for such a wonderful blog!
Oh Sarah! You made my day :) I am very glad it turned out great!!!!!!!!!
Extend my regards to your family.
Hi lola,
you have amazing recipes. i ahve treid the marble cake and this cheese cake ones and they turned out amazing…i m not an avid baker but if i want to try something its always from ur list!
Thankyou and keep posting more recipes!
Hi, Lola!
I found recipe of your chicken cutlets on Pinterest and from then i love your blog!
Thank you a lot for all the photos and instructions!
And now i have one question) Can you please tell me what kind of cream cheese do you use for this cheesecake?
Omgg I love u I’m. Making this tomorrow thank. U do much amazing all of ur recipes xx v