
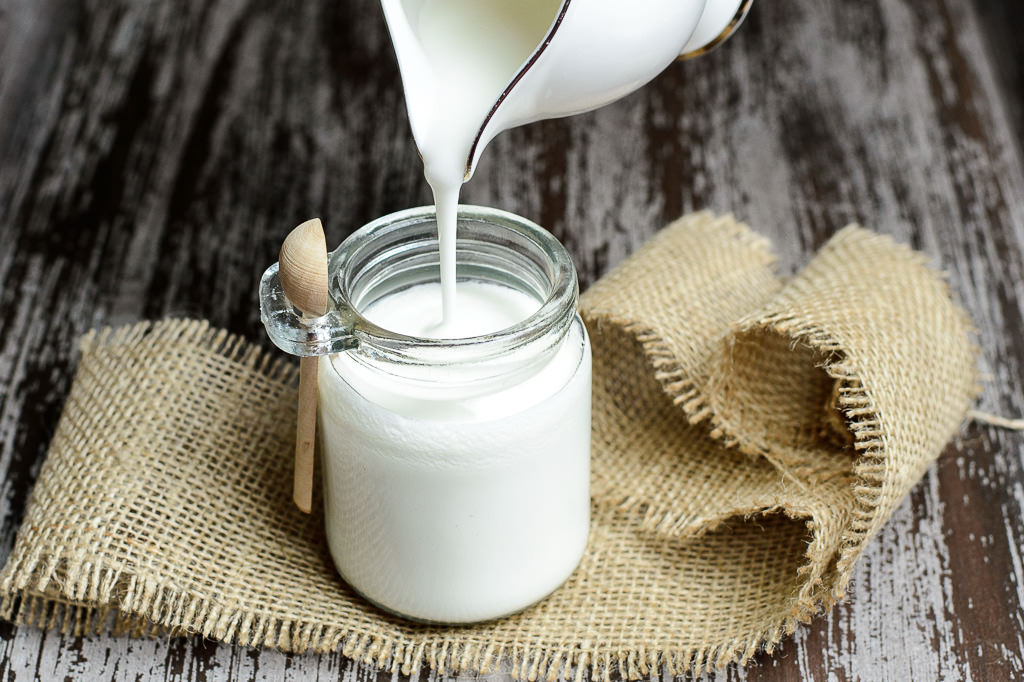
Guys, this recipe for Kefir is seriously easy and very delicious! Don’t let the long description scare you off. I just like to give as much information as possible regarding the process and provide some know-how regarding the peculiarities to turn this to a success for you. Kefir is a very powerful antioxidant! I make two different types of Kefir at home. One requires the usage of kefir grains, which is ideal for raw milk kefir. The other (this recipe, to be exact) only needs a kefir starter and milk. Unlike the first version, the latter is not as sour and can be used in wide array of foods. To make it a little more beneficial I also add a capsule of essential probiotics for improving your gut health and moving your bowel along. Now, isn’t that neat :D
My mom was a working lady (she still works like crazy!) and she was always busy. But we were always fed a home-made meal. I do not recall running to a fast food chain or a restaurant to grab a bite. I don’t know how she managed it ( alright, dad helped A LOT) but she would prep all our food early in the morning for us to eat after school. Kefir was one of our favorite snacks post studies. She would ferment them in small, individual mason jars, so that we wouldn’t mess around with big jars and spill everything over. We would just put some fruits in the jar with kefir and have a fulfilling snack. I learned making this when I was in second or third grade.
I also happen to use kefir in a lot of my cooking. Going forward I will be referring to this page a lot. Wide array of cuisines use Kefir or Yogurt in their kitchens. Plus knowing where my kefir comes puts my mind at ease. After all, I feed it to my children every morning. There are of course store-bought options that you can go for. Solutions, solutions! You decide on the which one works for you.
Follow along and I will share some useful tips with you regarding making this easy kefir recipe.
TIP number 1:
What is a kefir starter and how to make it? Since I am not using grains here, using a starter to achieve great results is a must. What did I use for my starter? Simple, 1/4 cup organic greek yogurt, 1/4 of cup organic kefir. Mix these together and keep it ready for when you have time to make the kefir. The reason why I chose Greek yogurt in this starter blend is, Greek yogurt makes the home- made kefir a little on a “chewy” (my son calls it that) side and we love it! Kefir part starter of course keeps it runny and not as thick as Greek yogurt. So, there you go. A perfect blend. You can purchase these at your local grocery store.
Tip number 2:
Every time you are almost finishing the kefir, please put aside 1/2 cup of it as a starter for the next batch. Better yet, put aside the starter right after you have a ready produce. This is very important as you would want to keep the fermenting process consistent with well “fed” starter, chock full of probiotics. Plus a starter from already successful kefir guarantees successful outcome. However, It is quite alright if you wish to start over with a new starter.
TIP number 3:
If you wish to turn this into probiotic heaven, you have the option of adding a supplement while prepping the milk. Usually 1 capsule is good for one serving, which is about 8 oz. Considering that this recipe calls for 48 oz of milk, you will need to add lots of capsules of probiotics. Honestly, I do not like doing that. I find that one capsule does the job just fine. Especially with each re-use (refer to tip number 2) of the starter turned culture, probiotic strength in this kefir gets better and better. I do add 1 capsule of this every time I make kefir. Please refer to our guide on how to correctly chose probiotic supplements if you have any questions. I personally use the Jarrow brand one for ideal bowel support.
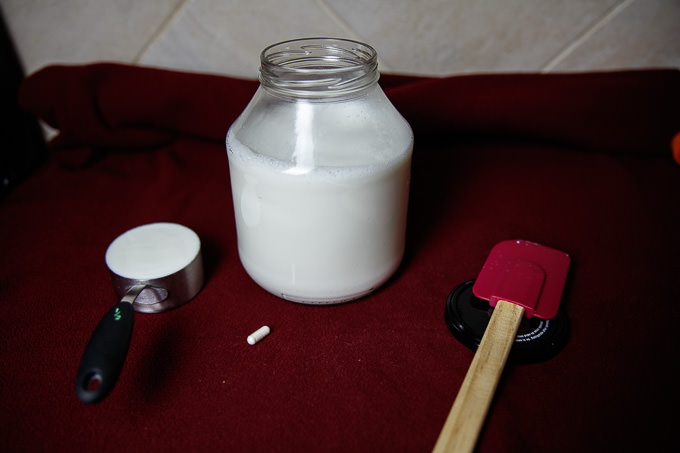
Ingredients:
- 1/2 cup of kefir starter (read the tips above)
- 48 oz of milk (1 and 1/2 liters)
- 1 probiotic capusle of your choice
Directions:
Chose the milk which works best for you. I usually go for organic milk, but today I only had Sprouts Farmer’s brand. Chose a medium size sauce pan to fit the 48 oz of milk.


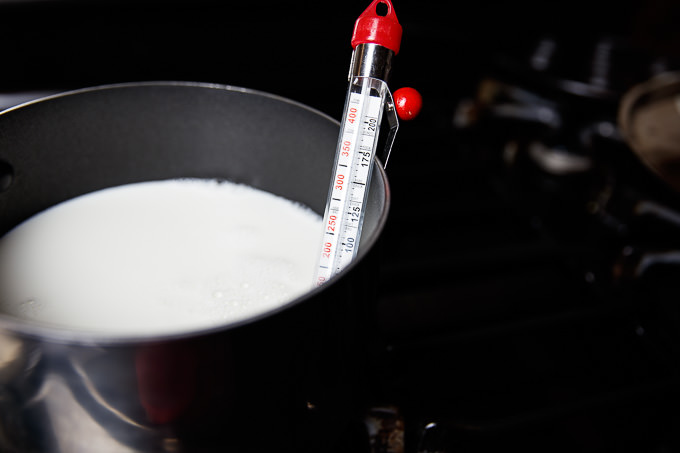
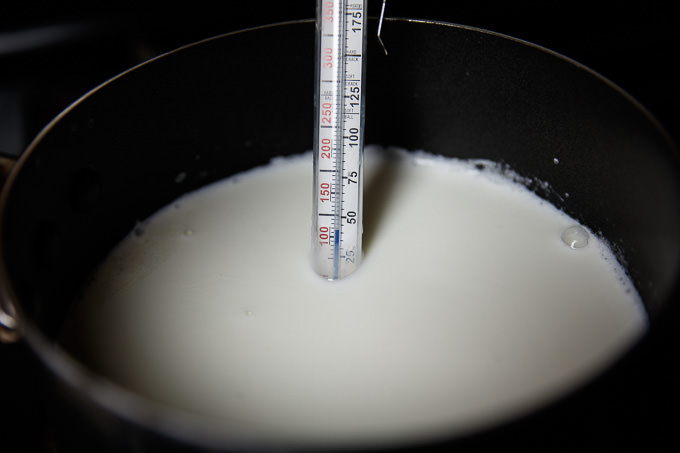
Turn the heat on medium and start warming up the milk. As you make this recipe more and more, you will get used to pinpointing the exact temperature by just touching the milk. For now please use a food grade thermometer to measure the correct temperature. Warm the milk till about 100F (25 1/2 C) and turn the heat off. If your milk got a little warmer than needed, don’t worry, let it cool a little. As long as it is not “running” and ruining your stove top, you are in good shape.
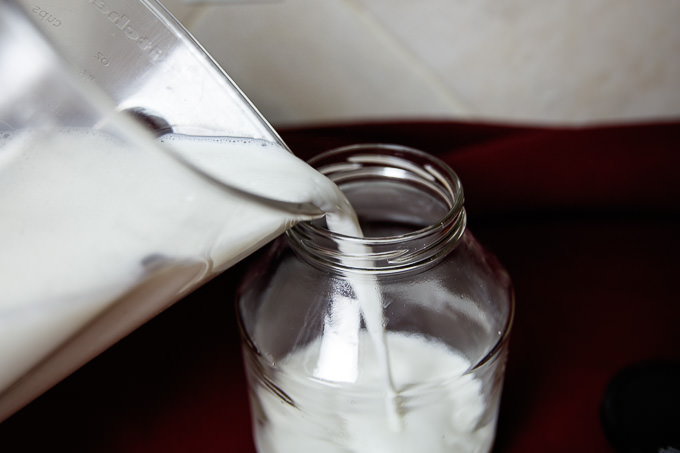
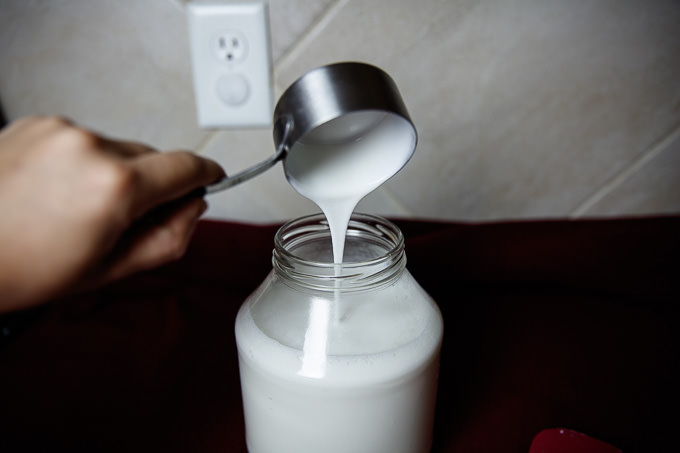
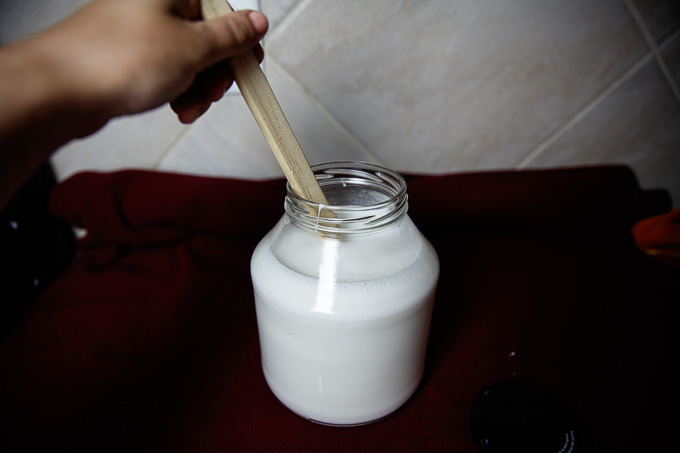
Find a glass-wear big enough to accommodate the milk, which also happens to have a lid. It can be anything really. I keep some jars handy for this purpose. Move the milk from the sauce pan to the designated jar. Now it is time to add the starter to the milk. From here you act quickly but gently, as we do not want the milk to get too cold. Otherwise no kefir for us! After you add the starter, gently mix it in into the milk (once or twice).
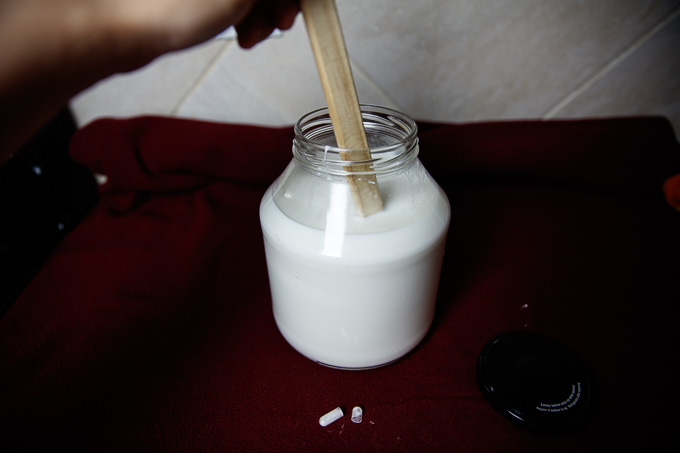
Open up the probiotic capsule and add it to the milk. Again give it a gentle stir.

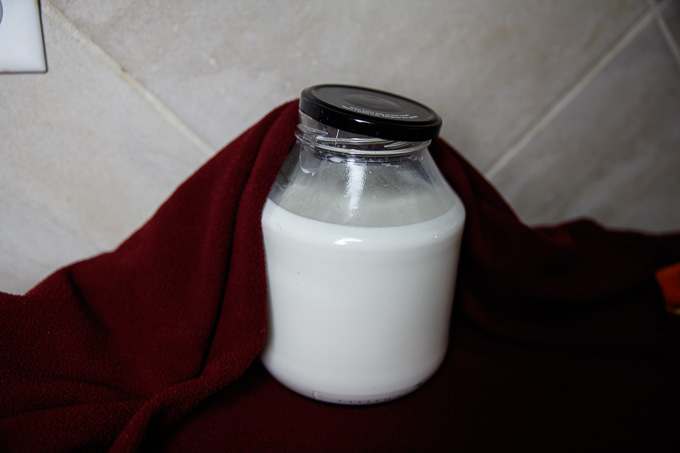
The last step is to half-closing the lid on the jar and bundling it up with a warm blanket or a large towel. The reason why the lid is half closed is, because you still want some oxygen to get into the jar. This process ensures proper culture. The reason why the jar is bundled up is, because you will need to keep the temperature at a constant while the process of fermentation takes place. This is the only way you will obtain kefir with this technology. Keep milk in this state for about 4-5 hours before placing it in the refrigerator. I usually make it later in the evening and put it away early in the morning.

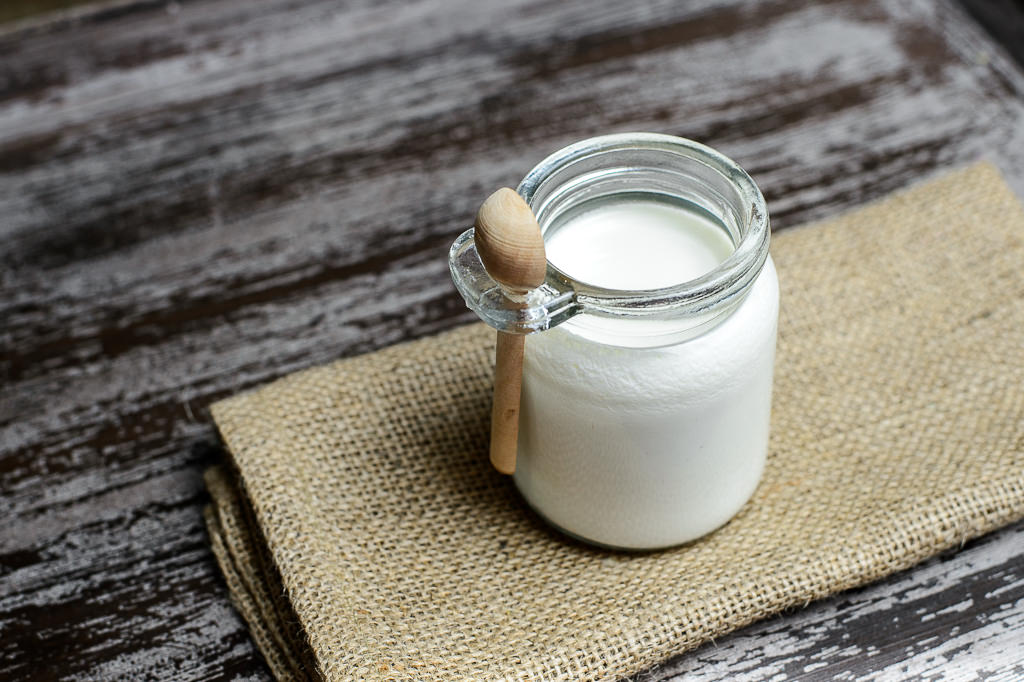
Viola! Your kefir is ready for consumption!
Easy Probiotic Kefir Recipe
Ingredients
- 1/2 cup of kefir starter read the tips above
- 48 oz of milk 1 and 1/2 liters
- 1 probiotic capusle of your choice
Instructions
- Turn the heat on medium and start warming up the milk. As you make this recipe more and more, you will get used to pinpointing the exact temperature by just touching the milk. For now please use a food grade thermometer to measure the correct temperature. Warm the milk till about 100F (25 1/2 C) and turn the heat off. If your milk got a little warmer than needed, don’t worry, let it cool a little. As long as it is not “running” and ruining your stove top, you are in good shape.
- Find a glass-wear big enough to accommodate the milk, which also happens to have a lid. It can be anything really. I keep some jars handy for this purpose. Move the milk from the sauce pan to the designated jar. Now it is time to add the starter to the milk. From here you act quickly but gently, as we do not want the milk to get too cold. Otherwise no kefir for us! After you add the starter, gently mix it in into the milk (once or twice).
- Open up the probiotic capsule and add it to the milk. Again give it a gentle stir.
- The last step is to half-closing the lid on the jar and bundling it up with a warm blanket or a large towel. The reason why the lid is half closed is, because you still want some oxygen to get into the jar. This process ensures oxidation and fermentation. The reason why the jar is bundled up is, because you will need to keep the temperature at a constant while the process of fermentation takes place. This is the only way you will obtain kefir with this technology. Keep milk in this state for about 4-5 hours before placing it in the refrigerator. I usually make it later in the evening and put it away early in the morning.
- TIP number 1:
- What is a kefir starter and how to make it? Since I am not using grains here, using a starter to achieve great results is a must. What did I use for my starter? Simple, 1/4 cup organic greek yogurt, 1/4 of cup organic kefir. Mix these together and keep it ready for when you have time to make the kefir. The reason why I chose Greek yogurt in this starter blend is, Greek yogurt makes the home- made kefir a little on a "chewy" (my son calls it that) side and we love it! Kefir part starter of course keeps it runny and not as thick as Greek yogurt. So, there you go. A perfect blend. You can purchase these at your local grocery store.
- Tip number 2:
- Every time you are almost finishing the kefir, please put aside 1/2 cup of it as a starter for the next batch. Better yet, put aside the starter right after you have a ready produce. This is very important as you would want to keep the fermenting process consistent with well "fed" starter, chock full of probiotics. Plus a starter from already successful kefir guarantees successful outcome. However, It is quite alright if you wish to start over with a new starter.
- TIP number 3:
- If you wish to turn this into probiotic heaven, you have the option of adding a supplement while prepping the milk. Usually 1 capsule is good for one serving, which is about 8 oz. Considering that this recipe calls for 48 oz of milk, you will need to add lots of capsules of probiotics. Honestly, I do not like doing that. I find that one capsule does the job just fine. Especially with each re-use (refer to tip number 2) of the starter, probiotic strength in this kefir gets better and better. I do add 1 capsule of this every time I make kefir. Please refer to our guide on how to correctly chose probiotic supplements if you have any questions. I personally use the Jarrow brand one for ideal bowel support.
Awesome recipe for kefir! Loving how to you can mix and match fruits/milks for yogurts!
Hi Mike! Thank you for your comment. Indeed, this kefir is pretty versatile.
Yes, yes! Kefir is a great beverage! I tried it with raw milk and love it even better!
I was wondering if you could use a probiotic cpasule that had other ingredients in it. The one I had in mind has vitamins b & c and L-carnitine tartrate along with it. It’s a special strain and I can’t find it by itself. What is your opinion? Thanks
Hi Elaine, I see no harm in using the probiotics that you have in hand. But if you are taking these supplements for a specific reason, after getting diluted in the kefir the strain might get significantly weaker.
Hi, awesome tutorial. i’m about to give this a shot, but was wondering if the saucepan has to be non-stick or if stainless steel is ok? I’ve read something about the metal killing bacteria.
Thank you!
Here is my 2cents worth: I often find that milk may get scalded if you heat it up in a saucepan, especially if you get busy and stray away from the heat source. I usually put the milk in a Pyrex bowl and put it over a double boiler. This way the milk does not boil over or get scalded. I then let it cool down. I let my kefir ferment for 30-36 hours. However, in the last 8hours, I shake the jar well and then let mother nature take over till it is done.
Rohinton, excellent points. Thank you for your feedback. I will give your tactic a sure try!
Hi Lola, 100 degree F is about 38 degree C.
Regards,
Hady
Hi, thx for tips. Are you saying you leave it under the blankets with jar half off for 36 hours rather than 4 or 5? If so, does this make the kefir better, and how?
Hi Jenny! Thank you for stopping by. You do not have to keep the kefir under wraps for 36 hours. 4-5 hours is enough. By keeping it out for 36 hrs you will the kefir ferment a little longer, which increases the amount of vitamin Bs in the kefir (which is great of course). However, more vitamin Bs also means a sour kefir. Not everyone likes the sour kefir.
Can you do a second ferment with this recipe?
This is not Kefir. You need kefir grains which already has probiotics . There is no need to add capsuls. What you are actually making is a new batch of Greek yogurt. I do this all the time.
This kefir recipe looks so simple and delicious! I can’t wait to try making my own at home. Thanks for sharing such clear instructions!
Can I add vanilla extract without disrupting the culture?