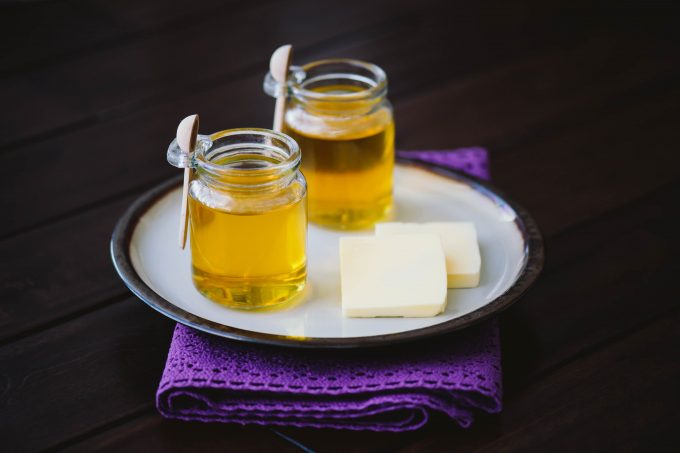
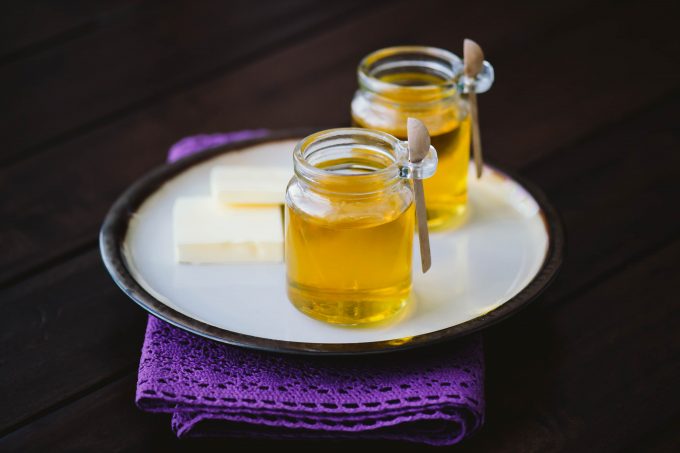
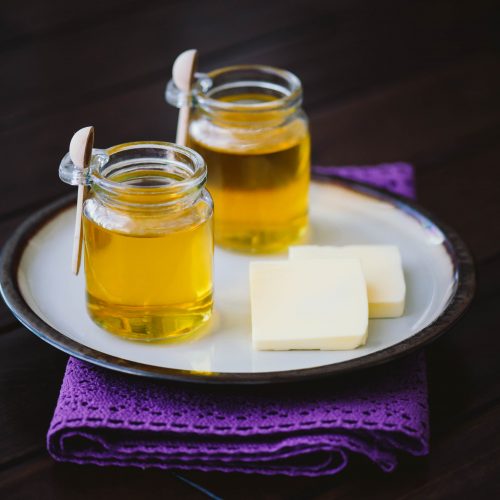
Ghee is liquid gold when it comes to its health benefits. Making ghee at home is quite easy and today I will teach you how to make ghee in a crockpot.
There are three levels of clearing milk solids from butter. The first step is to clarify butter. The second step is to make ghee out of butter, going beyond clarifying it. The third is to make brown butter. Of all three I prefer ghee the most. It has a very pleasant taste. When used in foods it gives them a very subtle but rich buttery aroma.
I started making ghee in the crockpot for multiple reasons. First, it does not require a lot of energy. I can also spare a burner on my stovetop, while the ghee is slowly simmering in the crockpot. I can control the cooking temperature precisely because crockpot has two or three temperature settings and there is no messing it up. You can set up a timer so the crockpot turns off without you worrying. The last but not the least reason is that I don’t have to constantly watch the stovetop wondering if my ghee will “explode” anytime, because I chose the wrong temperature or a little water got splashed into it.
Briefly on the benefits of Ghee.
There is a lot of information about ghee in the realm of the world wide web. I, however, will sum it up for you without going into too many details.
Aside from being completely lactose-free, ghee has a high smoking point, standing at a whopping 485 degrees. Ghee is an excellent choice for sauteeing vegetables, used in pastries, in soups, stews, searing fish and meats. Most oils with a high smoking point are not beneficial to our health. Ghee, on the other hand, packs quite a powerful punch by adding its own nutrients into your food, which will not get destroyed during the cooking process.
Ghee has a much longer shelf life than other oils. It does not oxidize and keeps remarkably well in and out of the refrigerator. I make a huge batch of it once in two months and I haven’t had anything go bad under my match.
What to watch out for while preparing ghee in the crockpot.
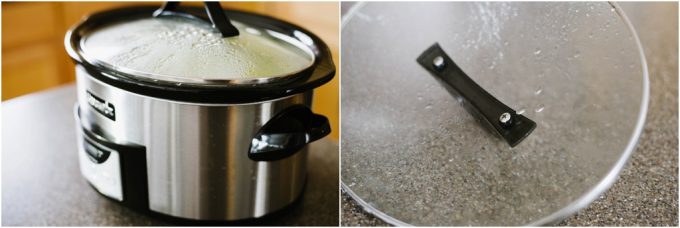
Under no circumstances close the crockpot lid shut. Remember, the process of cooking down butter and turning it into ghee is obtained by cooking down the lactose and evaporating the moisture. If you close the lid shut, the water will be trapped inside the pot and create huge “butter blowup”, which will make you miserable. Once the water becomes trapped in the crockpot, good luck getting it out with this method. You will need to transfer everything into a different container and finish the making of ghee on the stove top. Not to mention that the first butter blowup will not be your last.
Since we are going with the crockpot method because we want more freedom from constantly looking over our shoulders, please follow all of my suggestions and stay close-by the first time you make ghee. This will teach you exactly what look forward to the next time you make ghee in your crockpot.
Ingredients:
- 7 lbs unsalted butter
Cooking time:
- 5-6 hours
Tools:
- Large Crockpot
- Skimmer
- Ladle
- Cheesecloth
- Suitable containers to store ghee
Directions:
I have a large crockpot which can take up to 8lbs of butter. If you leave the butter in room temperature for an hour before putting it in the crockpot, you can fit all 8lbs in.
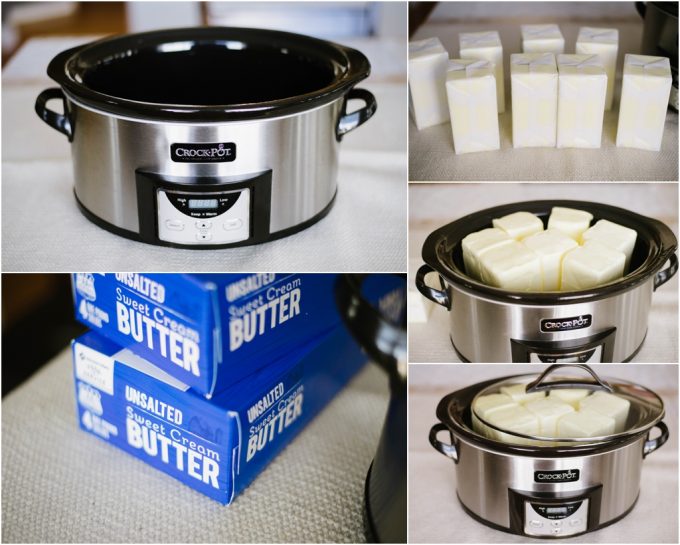
Remove the wrappers from butter and place them in the crockpot. Remember what I said about not closing the lid of the crockpot shut. Slightly move the lid of the pot to the side, making sure the lid is still secure.
If you are home while the ghee is cooking, you can turn the dial to HIGH (or set it to HIGH) until the butter has melted down. This will expedite the process a little. OR you can set the dial to LOW and let the process begin. IF you set the pot to HIGH, make sure to only keep it on high until the butter has melted, I can’t stress this enough.
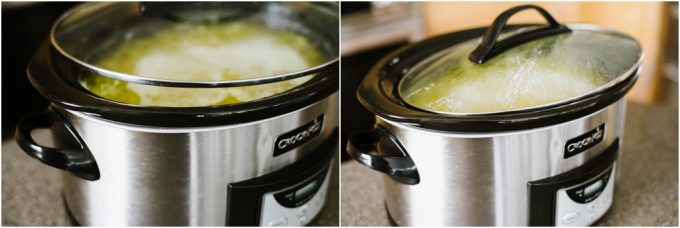
The butter will slowly melt and will start slowly boiling. AGAIN make sure the lid is not closed shut. You need to leave the way out for the moisture to escape.
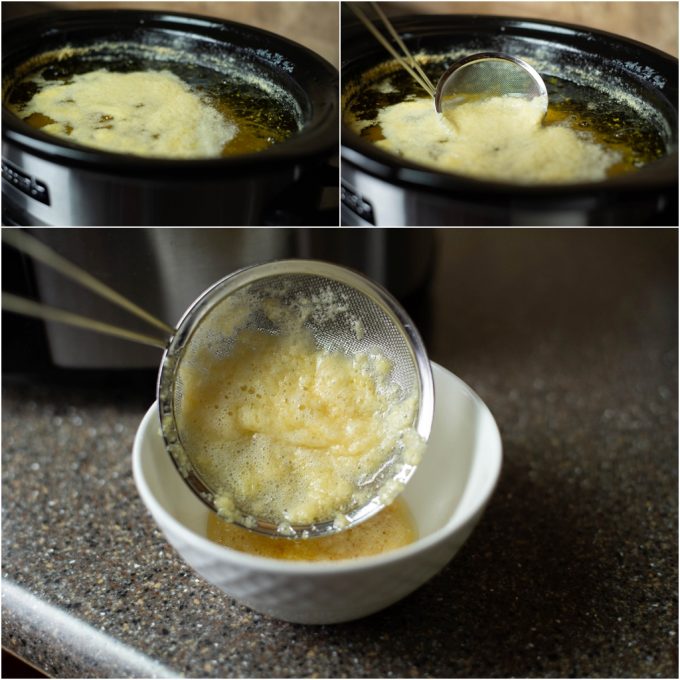
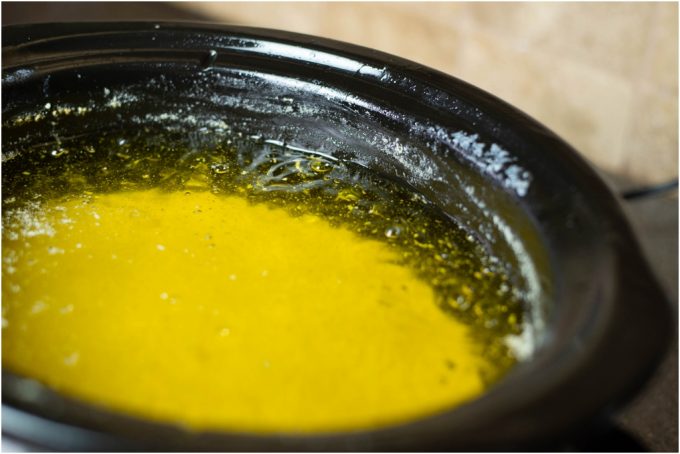
While the butter is cooking down it will first go through the clarification state and the second stage will be the development of ghee. When you see the lactose bubbling up on the surface of the butter, you may remove it and strain out the butter at this stage. CONGRATULATIONS, you just made clarified butter! But that’s not what we are making, so, keep on going.
If you ever move the lid of the crockpot, make sure to wipe it down and remove all the moisture before you tilt it back on the crockpot.
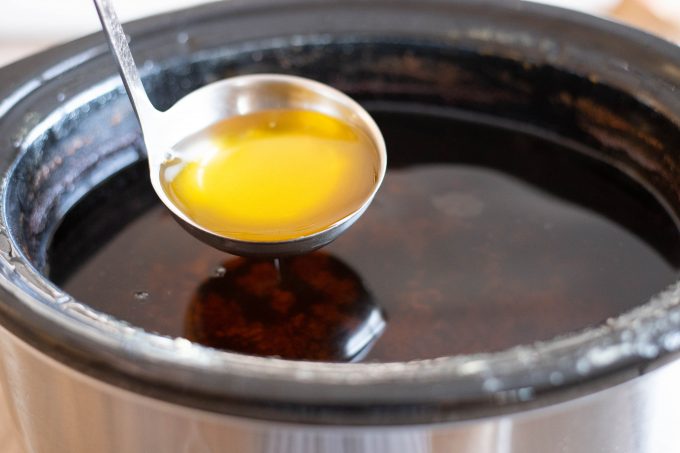
Aside from what you might have skimmed out from the surface, the majority of the milk solids will wind down on the bottom of the crockpot. During the process of cooking, these milk solids will also cook down and turn brown. This is an indication that the ghee is ready.
The color of ghee will also be a little darker and richer than the initial yellowish butter color. Don’t go any further from this step, as you will go into the territory of brown butter and burnt butter. Brown butter is a marvelous idea, of course. But you have to know precisely when to stop in order not to completely burn the entire 7 lbs of butter.
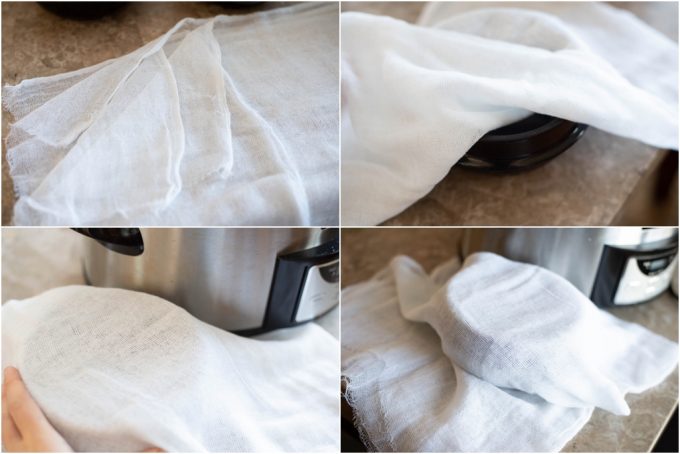
Turn off the crockpot, and let it cool down a bit. Prepare 4 layers of cheesecloth to help you filter out the ghee. It is important that none of the milk solids get in the final product.
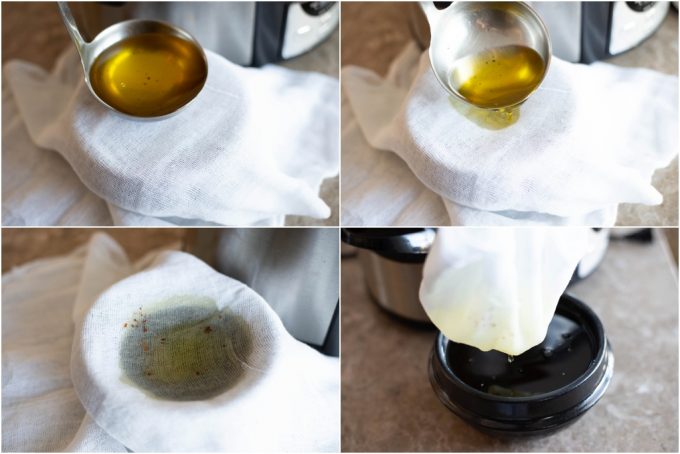
I use clay pots to store the ghee. Cover the clay pot (or container) with the cheesecloth and immobilize it by propping the container against the crockpot, trapping the edge of the cheesecloth. Pour the adequate amount of ghee into the container. My clay pots take about 5 ladles of ghee. Gently pick up the cheesecloth and place it on another container to repeat the process of portioning the ghee.
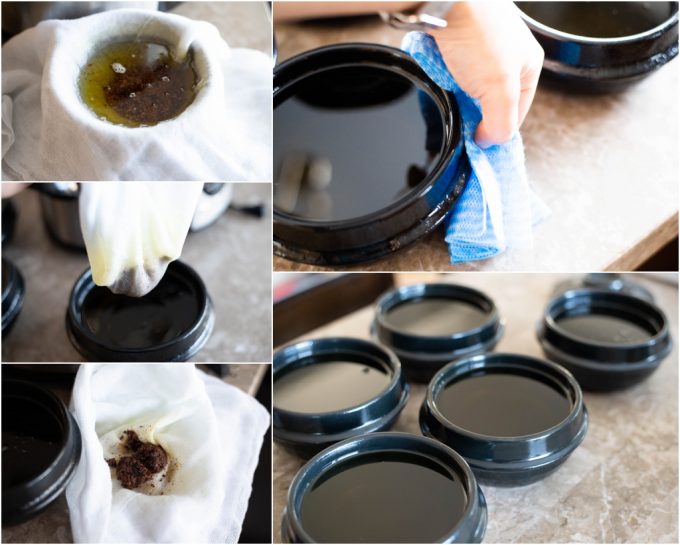
Towards the end more and more of the brown milk solids will end up in the ladle. Since you are using 4 layers of cheesecloth, none of the milk solids should end up in the final containers. Once you are done separating the ghee, gently squeeze the cheesecloth and discard what remains in it. Wipe down the sides of the container with a damp cloth. Cover the lids and put away ghee into the storage. I store my ghee in room temperature. You can also put them in the refrigerator for an even longer shelf life.
How to Make Ghee in Crockpot
Ingredients
- 7 lb unsalted butter
Instructions
- Remove the wrappers from butter and place them in the crockpot. Remember what I said about not closing the lid of the crockpot shut. Slightly move the lid of the pot to the side, making sure the lid is still secure.
- If you are home while the ghee is cooking, you can turn the dial to HIGH (or set it to HIGH) until the butter has melted down. This will expedite the process a little. OR you can set the dial to LOW and let the process begin. IF you set the pot to HIGH, make sure to only keep it on high until the butter has melted, I can’t stress this enough.
- The butter will slowly melt and will start slowly boiling. AGAIN make sure the lid is not closed shut. You need to leave the way out for the moisture to escape.
- While the butter is cooking down it will first go through the clarification state and the second stage will be the development of ghee. When you see the lactose bubbling up on the surface of the butter, you may remove it and strain out the butter at this stage. CONGRATULATIONS, you just made clarified butter! But that’s not what we are making, so, keep on going.
- Aside from what you might have skimmed out from the surface, the majority of the milk solids will wind down on the bottom of the crockpot. During the process of cooking, these milk solids will also cook down and turn brown. This is an indication that the ghee is ready.
- Turn off the crockpot, and let it cool down a bit. Prepare 4 layers of cheesecloth to help you filter out the ghee. It is important that none of the milk solids get in the final product.
- I use clay pots to store the ghee. Cover the clay pot (or container) with the cheesecloth and immobilize it by propping the container against the crockpot, trapping the edge of the cheesecloth. Pour the adequate amount of ghee into the container. My clay pots take about 5 ladles of ghee. Gently pick up the cheesecloth and place it on another container to repeat the process of portioning the ghee.
- Towards the end more and more of the brown milk solids will end up in the ladle. Since you are using 4 layers of cheesecloth, none of the milk solids should end up in the final containers. Once you are done separating the ghee, gently squeeze the cheesecloth and discard what remains in it. Wipe down the sides of the container with a damp cloth. Cover the lids and put away ghee into the storage. I store my ghee in room temperature. You can also put them in the refrigerator for an even longer shelf life.

This is awesome and I can’t wait to try this. What would you do to get brown butter in a slow cooker?
Nice explanation but I can never ever imagine throwing away the yummy left over solids. They are infact the main reason I make ghee at home. I mix it with a bit of sugar and it becomes a delish dessert
What is the ideal temperature of low on a crock pot? Are they all the same?