I do not think blintzes need any introduction. They are loved in many families. I make them once a week since my boys really like blintzes with different fillings. Our favorite fillings are ground meet, fruits (which makes them crepes), cheese or just plain raspberry jam and honey.
While there may be a lot of blintz recipes out there, this recipe is special to me, because I learned it from our childhood nanny. She was a chubby, sweet old lady and her personality was so pleasantly infectious. She prepared delicious meals and was dedicated in making everything right. We would sit for hours in the kitchen and talk about anything and everything in the world. The last time I saw her, was before we moved to our new house about 10 years ago… She cried and cried, because she couldn’t move to the new place with us. We cried and we still cry, as we lost her out of our sight for good. My dad went back to her house to look for her, but he never found her. Our memory of her now lives in this simple, but heartwarming breakfast treat. Every time I make blintzes, amazing memories of nanny Lyuba come gushing through my thoughts.
Ingredients:
- 4 cups (1L) of warm milk (any kind of milk is fine)
- 3 eggs
- 1/2 tsp baking soda
- 1 tsp sugar
- 1 tsp salt
- 2,5 cups of all purpose flour
- 1/2 cup vegetable oil
Meat filling:
- 8 oz of ground beef
- 2 tbsp of vegetable oil
- 1 large onion minced
- 1/2 tsp salt
- 1/2 cumin
- pinch of freshly ground black pepper
- 1/2 cup of water
- 1 egg
- little butter (optional)
Directions:
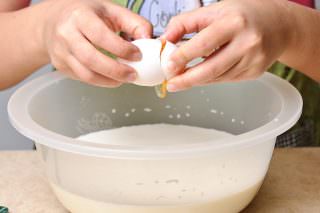
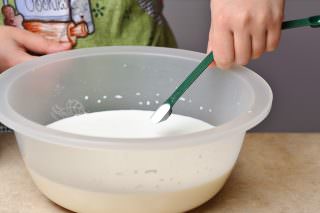
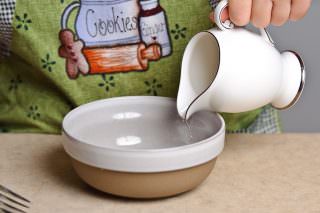
Crack the eggs into the warm milk, add the baking soda, sugar and salt.
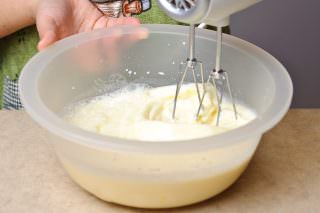
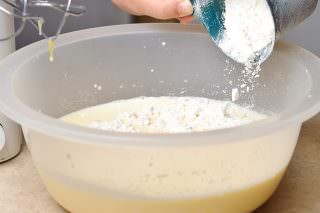
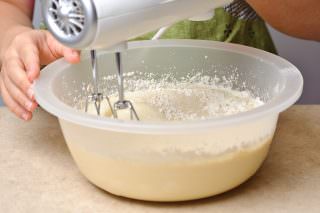
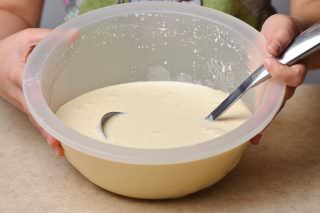
Whisk everything well with a help of a mixer. Add the flour and give a nice whisk so that everything is mixed well.
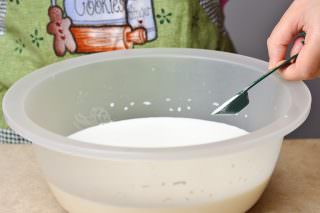
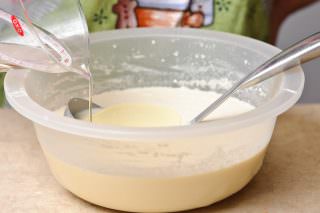
Add the oil but do not whisk it.
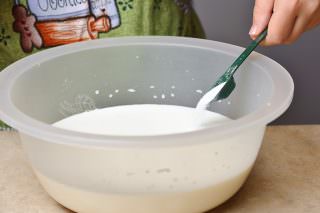
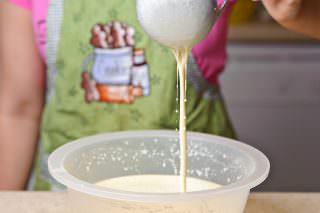
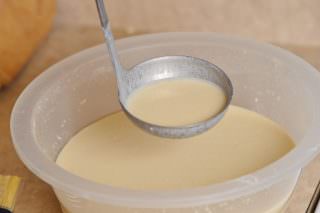
Grab a ladle and give the dough a toss. Here is how the batter should look. I highly recommend following this recipe to the T if you want to have the right consistency for the batter. Let it rest for 10-15 minutes. Meanwhile you can prepare the meat filling.
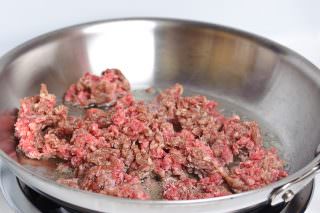
Heat the skillet on medium high, add the oil and add the meat.
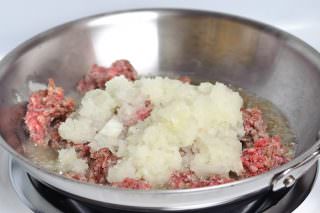
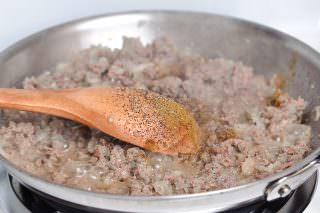
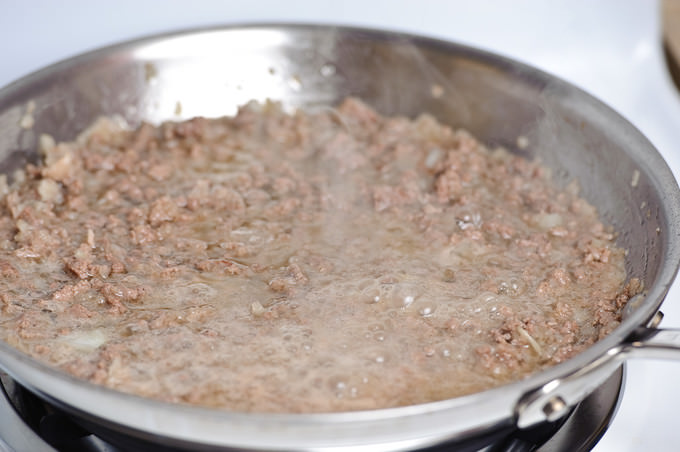
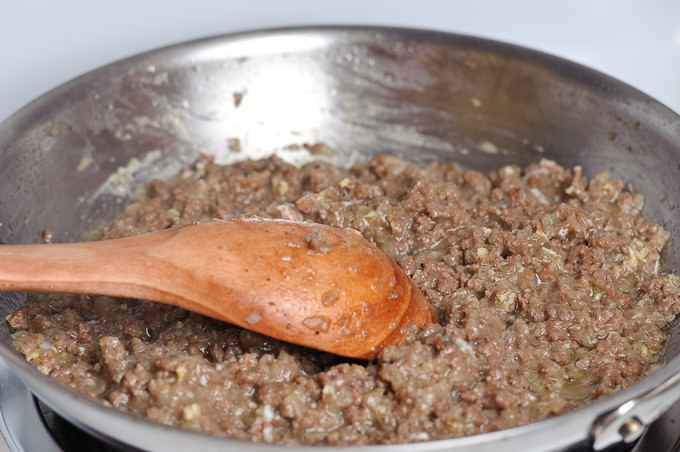
Immediately put the minced/chopped onions on top. Meat and onions should cook at the same time. Add the spices and salt. Mix it well. After frying for a good 5 minutes, add the water and turn down the heat to medium low. Close the lid and let the filling rest for 20 minutes.
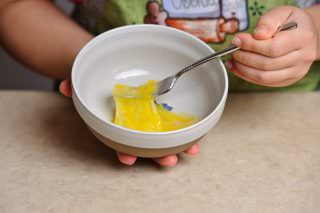
When the 20 minutes are up , in a small bowl whisk one egg with just a little bit of water. Add it to the meat and mix very well to evenly spread the egg. Turn the heat off and close the lid of the skillet. Let it rest for 5 minutes.
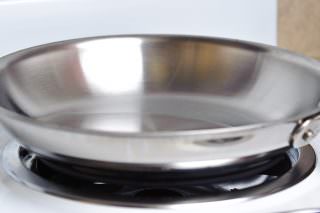
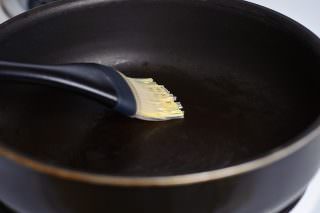
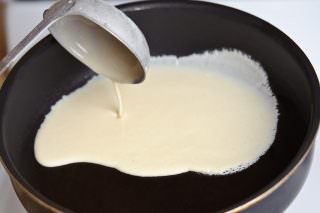
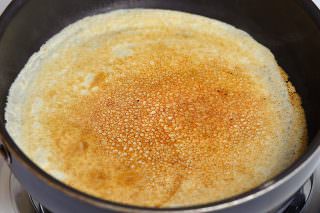
For cooking the crepes, it is ideal to have the crepe pans. They are very easy to use and the process goes much faster. But if you do not have one, you can use your non stick pans or cast iron pans in 9 inch or slightly bigger sizes. Grease the pan slightly and heat it on medium heat (5). Keep the same temperature for the time. Give the batter nice mix before starting to cook it. Once the pan is nicely warm, hold the pan in one hand and using the ladle, pour the the batter evenly over the bottom of the pan. My ladle measures 1/2 cup. I approximately pour 1/3 of the ladle. Keep in mind, if your batter sticks to the bottom of the pan, you will need to slightly grease the pan up after each crepe. Also keep mixing the batter time to time in order to prevent the flour to settle in the bottom of the bowl.
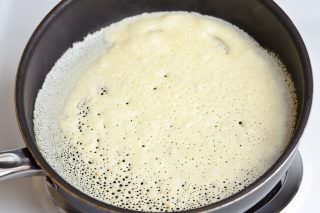
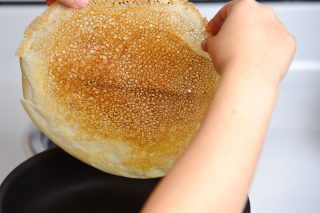
Once the sides of the crepes turn slightly brown and start getting unstuck on the sides of the pan (happens pretty quickly), flip them to the other side, remove the crepes in 10-20 seconds. I usually use my bare fingers. Some like to use spatulas. These crepes are very delicate (so are you fingers). Use caution and, of course, use the method which best suites your purpose.
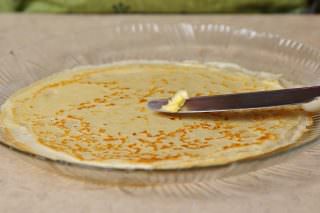
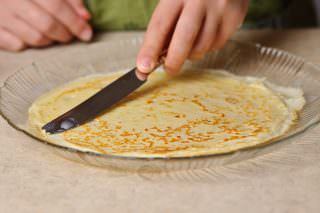
If you are using butter, cut a small piece of it and spread it thinly over each crepes while they are still warm. I keep the butter close to the stove. That’s how I manage to spread butter over each crepe right after they are done.
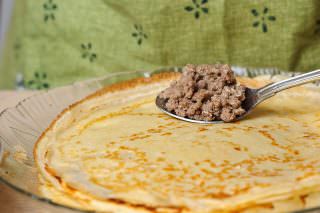
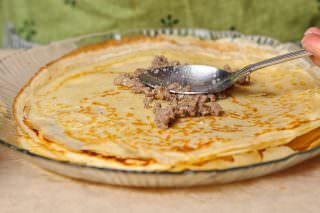
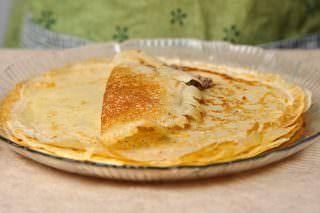
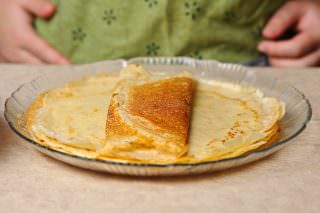
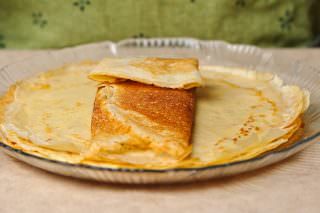
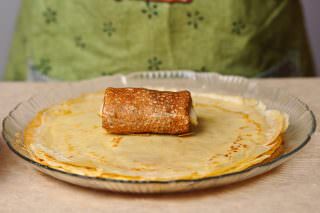
Spread one spoon full of meat filling in the middle of the crepe, press it gently, fold the sides and roll forward.
Enjoy them warm with a cup of hot tea! You can also roll fruits and whipped cream into the crepes and enjoy them that way. Whichever rocks your boat that nice weekend morning, fulfill your desire :)
Bon appetit!


Lola, do you remember aunty Lyuba calling herself ‘Muhabbat’? :))
Blintzes look delish!
haha, I most def. remember that! She really loved you :)
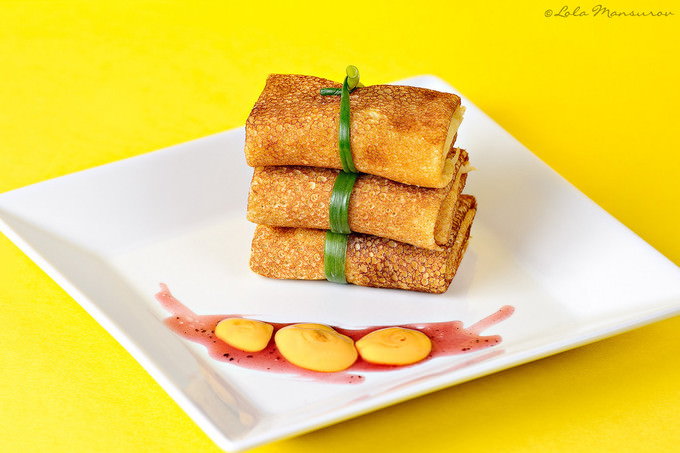
Wonderful photography. Loved the last photograph specially. Loved the composition and usage of depth of field. The first photograph for me is a little too bright. Second photograph was totally awesome!!
Thank you for sharing.
Hope to learn more about food photography from you.
Neal, I am glad you find our blog interesting :) I am still a student in food photography section but I like to improvise and break rules :D Yes, the first picture came out a little bright due to the fact that I used yellow background. Next time I am thinking of using a slightly different technic. I like the second picture, too :D
Wow I love the details of this post. everything is step by step. I was planning to make a mille crepe cake. Thanks for sharing
Swee, thank you for your compliment. Definitely try it! If you have any questions feel free to ask. I will help you with as much as I can!!!! Thank you for visiting our blog :)
Lola and Nasim, this morning I made blinchiki using this recipe. They turned out really well, so thanks for sharing! I didn’t make the filling, instead we used butter and jams.
Also, wanted to point out that 1 liter (of milk) is actually 4 cups, not 2. You may want to correct that.I figured that there was no way to mix 2.5 cups of flour with only 2 cups of milk :)
Altinay, thank you for pointing out the measurement error for the milk. That usually happens to me if I type faster than I think :)
I am glad your blinchiki turned out well!!
Your blintzes look amazing!! I’m bookmarking this recipe. Excellent photography as usual.
Thank you, Memoria. You made my day :D
Super!!! With your skills of photography you make simple food gorgeous!!Good Job, Lola!!
yes, this is exactly how we cook blinchiki at home in Ukraine and Russia. Russians like to put red and black caviar inside, this is considered to be the national dish, though not every family can afford caviar…
Your blag makes me excited, thank you for good ideas which i have found here.
Thank for visiting my foodblog Svetlana :) I am glad you like the recipes. Let me know how they work out for you. I love feedback! :)
These sound wonderful, and your photography of your food is amazing – especially that last photo with the strawberry and blackberries. Fantastic! I’m going to save this recipe and try it for a special breakfast when the whole family is home.
when I told my husband I would be making crepes for his lunch today, he sounded excited, and a little nervous. After I was finished, I was amazed at how well they came out. My finished product looked almost as good as yours! I couldn’t help but feel like I accomplished something for the day..
When my husband saw what I was then packing into his lunch, he told me that when I told him what I would be making him for the day, he didn’t think I would be able to pull it off. And I did so hah!
lets just say that he loved them =)
thanks for a great recipe for the family. I deffinitly will be adding this one to our lunch/dinner meals. We are excited to try them with fruit and whip cream.
yum.
thanks again!
p.s.
i did notice that mine were oily/greasy when eating.
I’m not sure if it is because I did something wrong, but in the future I would like to make sure they are not that way.
I used oil like you said too before I made each crepe. Not sure If I used to much though.
Could that be the issue?
Also with the ground meat, should you dump grease out before adding egg mixture?
Also, should these be eaten right away or can they be saved once mixture is already rolled into them? Sorry for all the questions..this is just my first time cooking these so I’m not sure.
Thanks!
Dear Rebecca,
If you do not like it too be too greasy, put a little bit less oil in to the mixture. Also, if your pans are non-stick, you do not have to oil it as much. Perhaps I should have mentioned it in the recipe. If the meat is too fatty, I do dump the extra oil. Hope this helps!
I had to render fat from meat. In addition, I think that half a cup of oil for the batter it too much. I put 1/3 of a cup and even that was a bit too much. Otherwise blintzes turned out OK. It was worth trying. Thanks for the recipe.
Followed the recipy to the T. Everything worked out fine except the meat filling was a huge dissapointment!
Would prefer a more pate like meat filling and more spice to it!
Willdon Botha from South Africa.